Why the old buttons and signals fail to start the new VFD
The most common scenario when replacing a European drive (Schneider Altivar, Siemens, LS, Danfoss) with Veichi looks like this: the power section is wired correctly, the motor runs from the keypad, but the external Start/Stop buttons, the potentiometer or the pressure sensor stay silent. The cause is almost never a faulty VFD — it is the logic of the digital inputs and the common point the control circuits are referenced to.
European drives often ship with PNP logic (high-side control, +24V) by default. Veichi's factory logic is NPN (low-side control, 0V). If you simply move the wires from the old panel onto the new terminals, the signal levels will not match and the input will not trigger. This article is a migration map: what NPN and PNP are, where the PLC jumper sits, why the buttons must go to COM rather than GND, and how to wire the ground and the 4-20 mA analog signal correctly.
All parameters below are verified against the Veichi AC10, AC310 and AC01 technical manuals. Where the series behave differently, we call out the difference explicitly — this is the most common reason a wiring scheme "does not work" after migration.
The procedure, in short, is this: first determine the input logic of the old drive (NPN or PNP), then match Veichi to it with the PLC jumper, next wire the buttons to the correct common point (COM), set the command source and input functions with parameters, and finally take care of the grounding and the analog circuits. Follow these steps in order and replacing a European drive with Veichi stops being a lottery.
NPN or PNP: two logics on one terminal block
A VFD digital input triggers when current flows through it. The only difference is which side that current comes from:
- NPN (sinking, low-side control) — input Xn is activated by closing it to
COM(0V). This is Veichi's factory mode. The external button simply connects Xn to COM. - PNP (sourcing, high-side control) — input Xn is activated by applying +24V. This is how most European PLCs and drives work (Schneider, Siemens).
| Logic | Control level | How input Xn is activated | Typical brands |
|---|---|---|---|
| NPN (sinking) | 0V (low side) | Xn closed to COM | Veichi (default), many Asian PLCs |
| PNP (sourcing) | +24V (high side) | +24V applied to Xn | Schneider, Siemens, LS, Allen-Bradley |
How do you determine the sensor logic in practice? Check its marking and diagram: an NPN sensor has a "black" signal output that switches to the low side (0V); a PNP sensor drives the high side (+24V) onto the signal output. Plain dry contacts (buttons, limit switches, relay contacts) are simpler — they have no polarity of their own and work in either logic: all that matters is what you tie the common wire to. That is exactly why, when replacing a European drive, it is often enough to set the PLC jumper correctly and keep the same buttons.
The takeaway is simple: if you are reusing wiring from a European panel where the signals were high-side, Veichi must be switched to PNP mode. This is done not by a parameter but in hardware — with the PLC jumper. For a detailed breakdown of the signal logic, see the article on the PLC jumper.
The PLC jumper: where it sits and where to move it
On the AC10 (from 7.5 kW) and AC310 control board there are three adjacent terminals: +24V, PLC and COM. The jumper position between them defines the input logic:
| Mode | Jumper position | Input power source |
|---|---|---|
| NPN (factory) | PLC ↔ +24V | VFD internal +24V |
| PNP | PLC ↔ COM | internal +24V, high-side control |
| External supply | remove the jumper | external 24V source on the PLC terminal |
Per the AC310 manual (section 3.5.5, "Wiring diagram of the +24V, PLC, COM jumpers") the PLC terminal is connected to +24V by default. When inputs X1–X5/PUL are driven by external signals, PLC must be connected to an external source and disconnected from the internal +24V. On the AC10 the same arrangement appears on the 7.5–22 kW frames (manual note 6: "the NPN and PNP functions are similar to AC310").
Important for AC01. The compact AC01 series has no PLC jumper: the logic type is set in hardware. Inputs X1–X3 accept NPN signals, and the manual carries an explicit note: "these are PNP products, please confirm before purchase." In other words, for AC01 the logic is chosen at the ordering stage, not with an on-site jumper.
And the key safety rule: any work on the jumper must be done with the drive fully de-energized (the AC10/AC310 manuals specifically forbid touching the jumpers under voltage). Step by step — in the article "The PLC jumper on Veichi".
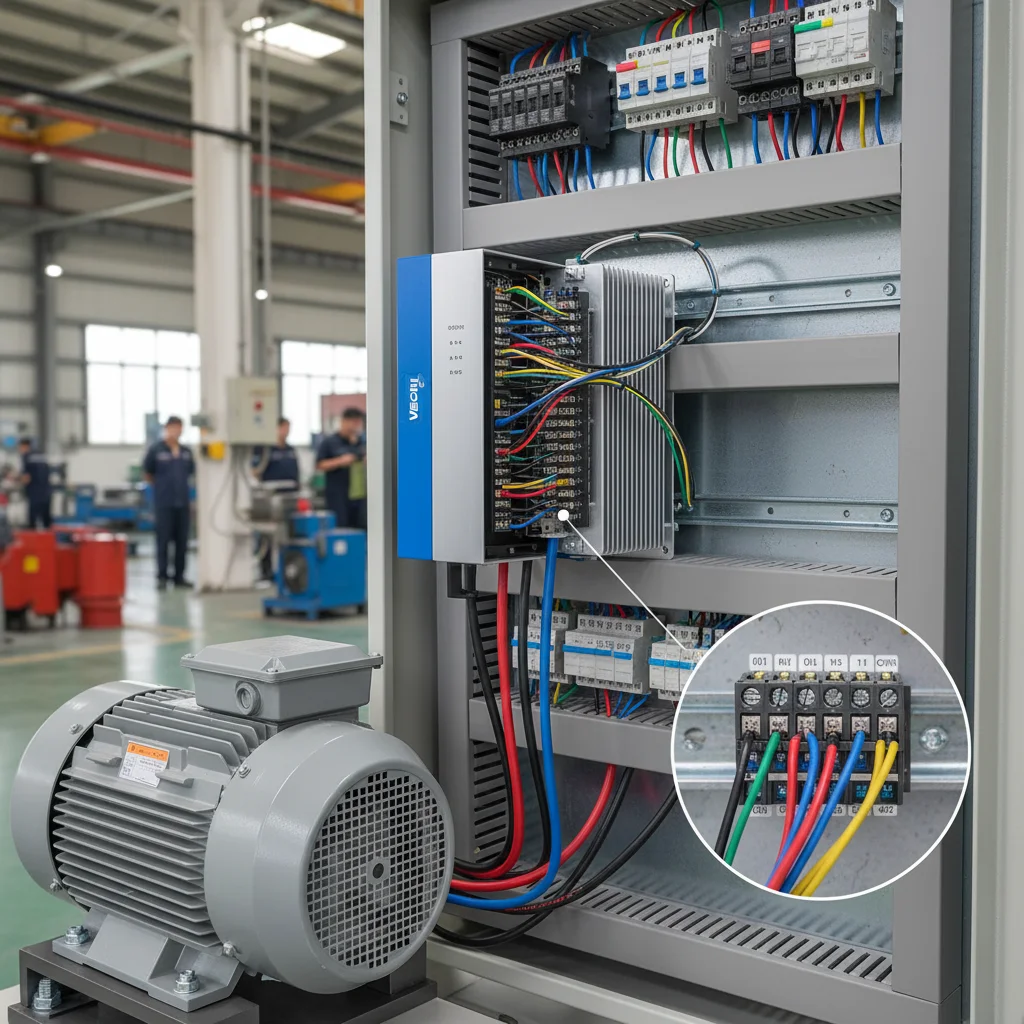
COM vs GND: why the buttons must go to COM
The second classic mistake is wiring the common button wire to GND instead of COM. At first glance there is no difference: both are "zero". But the terminals serve different purposes:
COM— the common point for digital inputs/outputs. The internal +24V source closes its loop precisely through COM.GND— the common point for analog signals (the +10V potentiometer, inputs AI1/AI2). GND is electrically bonded to the chassis.
At its output the VFD generates high-frequency noise through PWM. If the buttons sit on GND (i.e. on the chassis), this noise gets "mixed into" the logic signal and the input either fails to trigger or switches on falsely. That is why for X1–X6 the common point is always COM.
Here too there is a per-series nuance. On the AC10 0.4–5.5 kW frames the COM and GND terminals are "two in one" and externally combined as GND; they become separate on the 7.5–22 kW frames. On the AC01 the digital and analog "ground" are merged into a single COM terminal. On the AC310, COM and GND are always separate. A breakdown with examples — in the article "COM or GND".
One more typical trap from the same family — a remote keypad over an RJ45 cable. If the panel "does not come up" or the link drops intermittently, the cause is usually not the logic but the cable: an unshielded patch cord near the power circuits picks up the same HF noise that the buttons on GND do. The fix — a shielded cable and a check of the connector pinout. The principle is the same as with COM: the digital line must be protected from power-circuit noise.
Grounding and stray voltage on the chassis
After migration a "stray" voltage sometimes appears on the equipment chassis, and the keypad or the sensors start to misbehave. The basic Veichi grounding rules:
- The grounding terminal
E(PE) must have a ground resistance below 10 Ω (a requirement of the AC10, AC310 and AC01 manuals). - The motor ground wire goes directly to the VFD's PE terminal, not to the common building bus. A common bus used as the motor's single ground is a source of loops and noise.
- If there is a noticeable voltage between the control circuit "zero" and ground (in our experience, a guideline above 5V), this indicates a shared ground loop that needs to be separated.
More on diagnosing chassis voltage — in the article "VFD grounding and stray voltage".
The 4-20 mA analog signal and the shield
A 4-20 mA pressure or flow sensor is a separate weak point. On the AC310 the current signal goes to input AI2 (supports 0–20 mA or 4–20 mA, current input impedance 500 Ω, loop with GND). On the AC01 the current input is called AS and also accepts 4-20 mA. If an E.PiD fault appears, the first thing to check is the AI2/AS circuit itself.
The sensor cable is shielded, and the shield is grounded at one end only (on the VFD side). Grounding both ends creates a loop through the shield and only degrades noise immunity. In our experience the signal and power runs should be separated (a guideline of about 15 cm) or routed perpendicular to each other. Details — in the article "Shielding a 4-20 mA sensor" and in the Veichi VFD category.
Step-by-step checklist for migrating a European drive to Veichi
- Sizing by current. Match the Veichi not only by kW but by the motor's rated current (A) — this avoids undersizing under load.
- Power section. R/S/T — mains, U/V/W — motor, motor PE — to the VFD's E terminal.
- Input logic. Determine whether the old drive was NPN or PNP. For PNP — PLC ↔ COM jumper (on AC10 7.5 kW+ / AC310), de-energized.
- Common point. Buttons — to COM, not to GND.
- Command source.
F01.01 = 1(terminal control). The frequency from the analog input is set viaF01.02. - Input assignment. X1 — forward run (
F05.00 = 1), X2 — reverse (F05.01 = 2); the 2- or 3-wire scheme is selected viaF05.20. - Analog. Potentiometer — to +10V / AI1 / GND; the 4-20 mA sensor — to AI2 (AS on AC01), shield at one end.
- Terminal tightening. Torque all screw connections to the manual's spec — vibration loosens the contact and burns out the power modules.
- Old thermal relay. A mechanical relay after the VFD is best removed — the drive has more accurate digital protection.
A step-by-step breakdown specifically for the Schneider Altivar — in the article "Replacing a Schneider Altivar with Veichi", and ready-made matching pairs — in the ATV930 → AC310 and INVT GD20 ↔ Veichi AC10 materials. For the basic start-up parameters see the Veichi setup guide.
When a replacement is NOT worth it
An honest look at the limits. A straight "terminal-for-terminal" swap is not always justified:
- Complex cascade logic or a proprietary protocol. If the old station is built on a proprietary fieldbus protocol or precision positioning, a simple terminal mapping is not enough — the logic has to be recomputed.
- Modbus integration with specific register addresses. When replacing a VACON/VLT over Modbus the register addresses differ — they must be rewritten in the controller.
- A single-phase induction motor with a starting capacitor. This is a separate case with its own constraints, not an "ordinary" migration.
If your case is a standard three-phase drive with buttons and a sensor, migrating to Veichi comes down to correct input logic and careful grounding. If it is a complex system, it is better to agree the scheme first.
Typical wiring mistakes that eat up days of commissioning
Beyond the input logic, there are a few small things on which even experienced installers regularly get burned:
- Under-torqued terminals. A loose contact on a power terminal means local heating and a voltage drop. Vibration gradually loosens the screw, and in the end the power module burns out. Torque all screw connections to the manual's spec, and recheck them after a week of operation.
- A left-over mechanical thermal relay. An old relay in the circuit after the VFD conflicts with its operation (the output current is non-sinusoidal) and gives false trips. The drive has more accurate digital motor protection — the mechanical relay is usually removed.
- Analog ground on a digital terminal. A potentiometer wired to COM instead of GND (on the AC310) "floats" with noise. Analog — to GND, digital — to COM.
- Signal cable shield grounded at both ends. This creates a loop through the shield. Ground it at one end — on the VFD side.
- The jumper under voltage. Trying to set NPN/PNP "live" is the most expensive mistake. De-energized only.
None of these mistakes is "fatal" on its own, but together they turn a simple replacement into a week-long ghost hunt. Run through the list before the first start.
FAQ
Will the old buttons from a Schneider work without rework?
Usually not. Schneider works in PNP logic by default, Veichi in NPN. You either switch Veichi to PNP with the PLC jumper or re-wire the buttons to COM for NPN logic.
How do COM and GND differ if they are both "zero"?
COM is the common point of the digital inputs/outputs; GND is for analog signals and is bonded to the chassis. Buttons on GND pick up the VFD's HF noise and work unreliably.
Does the AC01 also have a PLC jumper?
No. On the AC01 the logic type is set in hardware (inputs X1–X3 for NPN), there is no jumper. If PNP logic is needed, this is specified at the ordering stage.
Where do I wire a 4-20 mA pressure sensor?
On the AC310 — input AI2, on the AC01 — input AS. The cable is shielded, the shield is grounded at one end (the VFD side). For an E.PiD fault, the signal is the first thing to check.
Can the jumper be moved under voltage?
No. Any work on the jumpers must be done with the drive fully de-energized, after the capacitors have discharged. This is explicitly stated in the AC10 and AC310 manuals.
How do I size a Veichi to replace an old drive — by kW or by current?
By the motor's rated current (A). Motors of the same power can have different currents, and sizing "by kW" alone sometimes leads to undersizing under load. Kilowatts are a guideline, current is the criterion.
Should I keep the old thermal relay after the replacement?
Usually not. The VFD output current is non-sinusoidal, and a mechanical relay gives false trips. The drive's built-in digital protection works more accurately — set it to the motor's nameplate current.