What the PLC jumper is and why you need it
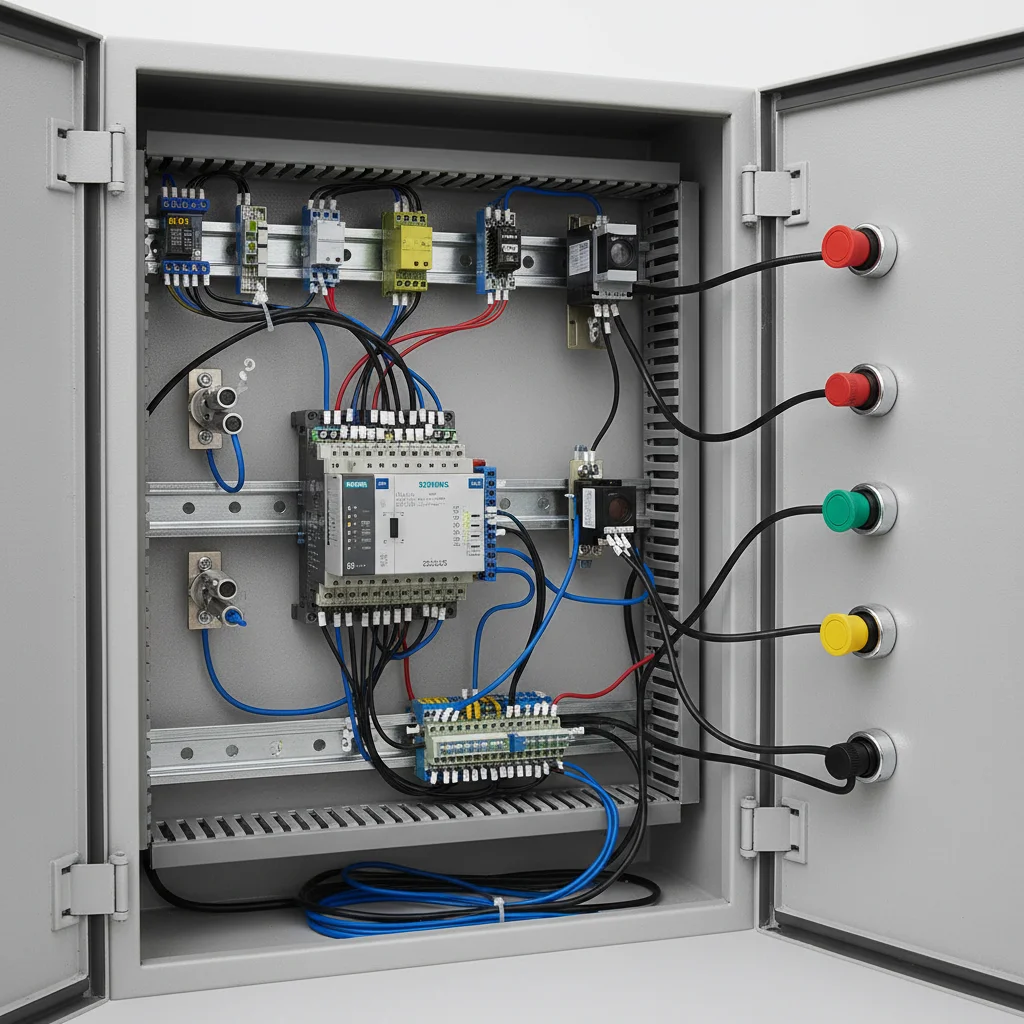
On the control board of Veichi AC10 (from 7.5 kW) and AC310 three terminals sit side by side: +24V, PLC and COM. Between them is a small jumper. Its position alone determines which logic drives the digital inputs X1–X5/PUL and where they take their power from. This is a hardware setting — you cannot set it with a parameter, only by physically moving the jumper.
The PLC terminal is the "common pole" of the digital inputs. Whatever you tie it to is the level that will activate the inputs.
Three jumper positions
| Mode | Jumper | How input Xn triggers | Power source |
|---|---|---|---|
| NPN (factory) | PLC ↔ +24V | Xn is pulled to COM (0 V) | internal +24 V |
| PNP | PLC ↔ COM | +24 V is applied to Xn | internal +24 V |
| External source | remove the jumper | depends on the external supply circuit | external 24 V unit on PLC |
Per the AC310 manual (section 3.5.5, "Wiring diagram of the +24V, PLC, COM jumpers") the PLC terminal is connected to +24 V by default — this is the factory NPN. The terminal note states plainly: when inputs X1–X5/PUL are driven by external signals, PLC must be connected to an external power source and disconnected from the internal +24 V.
NPN: sensors and pushbuttons that pull to the negative
This is Veichi's factory mode. The jumper sits at PLC ↔ +24V. Input Xn triggers when it is pulled to COM (0 V). That is how most simple dry contacts (pushbuttons, limit switches) and NPN-output sensors (open collector to the negative) work. If you are building a system from scratch on ordinary pushbuttons, leave NPN — nothing needs to be moved.
PNP: when coming from Schneider, Siemens, LS
European drives and PLCs usually drive their inputs with the positive (PNP): an active signal is +24 V on the input. For Veichi to "understand" that logic, the jumper is moved to PLC ↔ COM. Then input Xn triggers from the applied +24 V, not from a pull to zero. This is the most common operation when replacing a European drive — see the reference article on NPN/PNP migration for details.
A typical example: the old panel had a controller that issued "Run" by applying +24 V to the drive input. You move that wire onto X1 of the Veichi, but the drive stays silent — because in NPN mode it expects a pull to 0 V yet receives a positive. Just move the jumper to PLC ↔ COM and the same signal from the controller starts driving the input correctly. No changes to the controller itself are required.
External input supply
If the signals come from a third-party controller with its own 24 V power unit, the jumper is removed entirely and the external source's "positive" (or "negative", depending on the controller logic) is fed to the PLC terminal. This galvanically separates the circuits and matches the levels. Always cross-check the exact wiring against the "Wiring diagram of the +24V/PLC/COM jumpers" section of your manual.
Why do this in practice? When the input circuits are powered from the PLC's external regulated source rather than the drive's internal +24 V, you decouple the two systems and reduce mutual interference. In large cabinets with several drives this noticeably improves stability — Veichi's internal +24 V source is rated for its own inputs (up to 100 mA), and it is not worth loading it with third-party peripherals.
Tip: before removing the jumper for an external supply, photograph its factory position. That is the factory NPN (PLC ↔ +24V), and if something goes wrong you can always quickly put everything back "as it was".
AC01 — no jumper
The compact AC01 series has no +24V/PLC/COM block. The logic type is fixed in hardware: inputs X1–X3 are designed for NPN, and the manual carries an explicit note — "these are PNP products, please confirm before purchase". In other words, the required logic for the AC01 is chosen at the ordering stage, not with a jumper on site. You need to account for this before buying if you plan to drive it from a PNP controller.
How to match the sensor logic to the jumper
To avoid guesswork, use a simple correspondence table:
| What we connect | Logic | Jumper position |
|---|---|---|
| Dry contacts (pushbuttons, limit switches, relays) | any | factory PLC ↔ +24V (NPN) |
| NPN sensor (output to the negative) | NPN | PLC ↔ +24V |
| PNP sensor (output to the positive) | PNP | PLC ↔ COM |
| Controller/PLC with its own 24 V | external | remove the jumper, PLC → external source |
Dry contacts are the most flexible option: they have no polarity, so they work in the factory NPN without any manipulation. That is why, when replacing a drive that had ordinary pushbuttons, you can often leave the jumper untouched — it is enough to bring the common wire to COM.
Safety: power off only
The main rule: the jumper may only be moved on a fully de-energized drive, after the capacitors have discharged. The AC10 and AC310 manuals specifically forbid touching jumpers, option boards and the fan while energized. Haste here costs you a burnt control board.
If the control is remote or runs over a long line, also see the guide on remote control.
FAQ
How do I tell whether my sensor is NPN or PNP?
Check the sensor marking: NPN pulls the output to the negative (0 V), PNP applies the positive (+24 V) to the output. For NPN the jumper is PLC ↔ +24V, for PNP — PLC ↔ COM.
I moved the jumper, but the inputs are still silent.
Check that the command source is set to the terminals (F01.01 = 1) and that X1/X2 are assigned to run/reverse (F05.00 = 1, F05.01 = 2). Also make sure the common point of the pushbuttons is COM, not GND.
Can I make the AC01 work in PNP somehow without a jumper?
In hardware — no, the logic is fixed by design. If you need PNP mode, specify it when ordering the AC01. An alternative is to match the signals with an external relay.