Fault Code Diagnostics for Schneider Altivar VFDs and Localization
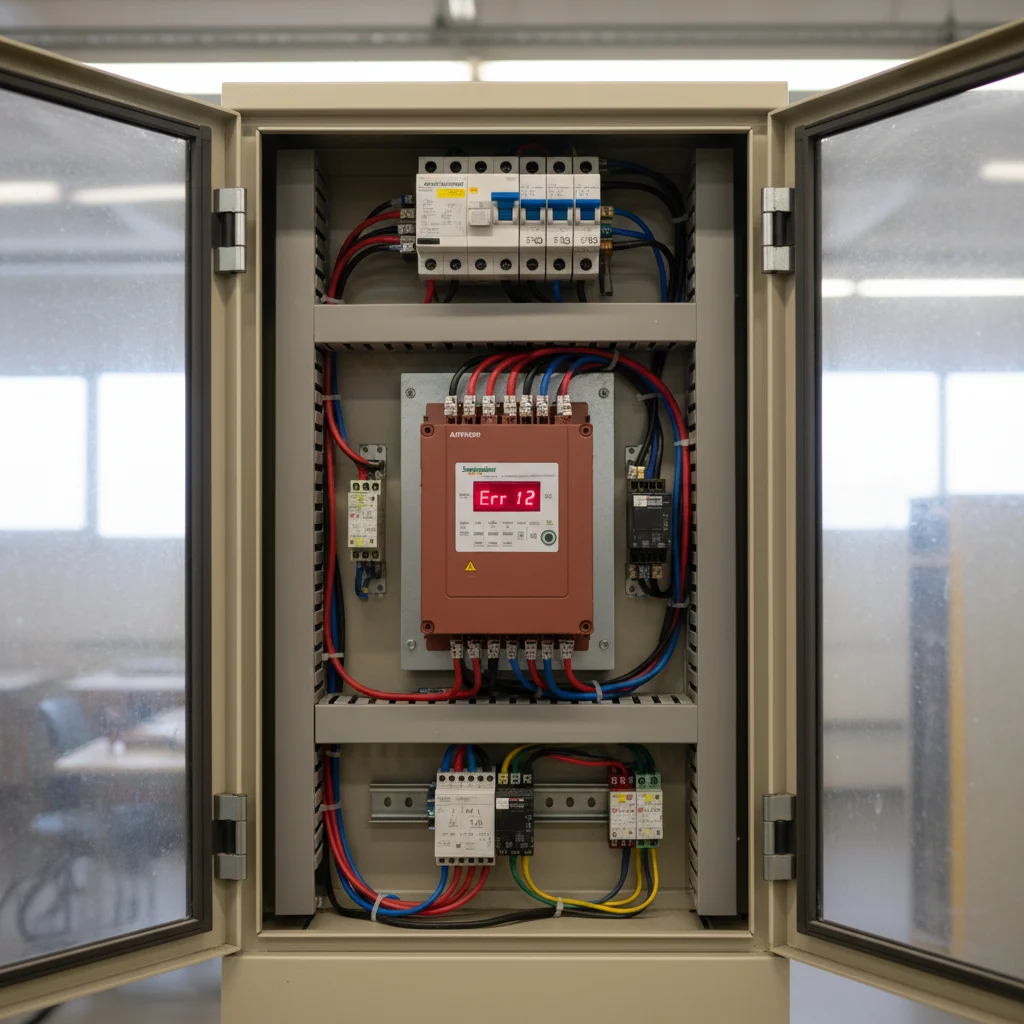
Schneider Electric Altivar variable frequency drives (specifically the ATV12, ATV310, and ATV320 series) are highly regarded in industrial automation due to their durability and advanced control features. However, when a critical fault is displayed on the integrated LED screen or remote graphic terminal, production can come to a standstill. Rapid and precise interpretation of fault codes is crucial to localizing the issue without removing the VFD. In this guide, our service engineers share practical troubleshooting protocols based on our hands-on experience at our Kyiv warehouse.
- Fault Diagnostics: Specific procedures for OCF, OSF, ObF, USF, OPF1, and OPF2 codes.
- Power Stage Diagnostics: How to perform a multimeter diode test on the input rectifier and IGBT modules without dismantling.
- Safety Warnings: Crucial details on why the control board logic common must never be mapped to the high-voltage DC bus.
- Dynamic Braking Setup: Dynamic braking chopper details and sizing resistor values.
Analysis and Troubleshooting of Altivar Critical Fault Codes
To identify the root cause of an Altivar VFD shutdown, begin by analyzing the active error code on the display. In our engineering practice, most fault triggers are external, stemming from incorrect protection settings, mechanical motor load wear, or input power quality issues. Below is a detailed breakdown of critical fault codes.
OCF (Overcurrent)
An OCF fault occurs when the output current of the VFD exceeds 2 to 2.5 times the nominal current rating of the drive. This can happen instantaneously during start-up or during steady-state operation under heavy load. Common causes include a short circuit between motor phases, a ground fault in the motor cable, mechanical blockage of the motor shaft, or an excessively fast acceleration rate (parameter ACC in the drC menu for ATV12 or ConF menu for ATV320). To diagnose, disconnect the motor cable from the U/V/W terminals and run the VFD. If OCF disappears, the issue lies in the cable or the motor. If it persists with no load connected, the output IGBTs of the VFD are shorted.
OSF (Mains Overvoltage) & ObF (Deceleration Overvoltage)
Both faults involve excessive voltage on the VFD''s internal DC bus but are triggered by different conditions. OSF is caused by input utility power surges (exceeding 265V AC for single-phase drives and 500V AC for three-phase drives). ObF is triggered during motor deceleration when the motor acts as a generator, returning kinetic energy back to the VFD and raising the DC bus voltage above the protection threshold (approx. 410V DC for single-phase and 820V DC for three-phase models). ObF can be resolved by increasing the deceleration time (parameter dEC), enabling deceleration ramp adaptation (brA = YES), or connecting an external dynamic braking resistor.
USF (Undervoltage)
A USF fault is registered when the VFD''s internal DC bus voltage drops below the safety threshold (approx. 160V DC for single-phase 220V units and 350V DC for three-phase 380V units). Main causes include line voltage drops, input phase loss, loose power terminal connections, or a failure in the VFD''s internal pre-charge circuit (such as a blown charging resistor or a faulty bypass relay). Check the incoming AC line voltage at the R/S/T terminals using a multimeter and monitor the ULn parameter in the drive''s diagnostics menu.
OPF1 & OPF2 (Output Phase Loss)
OPF1 indicates a single output phase disconnection (current imbalance among U, V, and W), while OPF2 indicates a total loss of all three output phases (motor disconnected or extremely small load). These protective features prevent asymmetric operation of the motor, which would otherwise burn the windings. Causes include motor cable breakages, loose screw terminals in the VFD or motor terminal box, or an open circuit contactor between the drive and the motor. To troubleshoot, measure the motor winding resistance directly from the VFD terminals. For testing purposes without a motor connected, disable output phase loss protection by setting parameter OPL to nO in the FLt- menu (ATV12/ATV310) or ConF -> FULL -> FLt- -> OPL- (ATV320).
| Fault Code | Description | Possible Causes | Corrective Actions |
|---|---|---|---|
| OCF | Overcurrent | Output short circuit, motor overload, incorrect motor parameters, low ACC time. | Check cable and motor insulation, verify motor settings in drC/ConF, increase ACC. |
| OSF | Mains Overvoltage | Line voltage exceeds limits (above 500V AC for 400V VFDs). | Measure input line voltage, install line choke if necessary. |
| ObF | Deceleration Overvoltage | Regenerative energy from rapid deceleration, high inertia load. | Increase dEC time, enable deceleration adaptation brA, install braking resistor. |
| USF | Undervoltage | Input line drop, phase loss, pre-charge bypass relay failure. | Check R/S/T input voltage, check line connections and internal charging relay. |
| OPF1 | Output Phase Loss (1 Phase) | Single-phase open circuit between VFD and motor. | Tighten VFD and motor terminals, check cable continuity and windings. |
| OPF2 | Output Phase Loss (3 Phase) | No motor connected, or motor load current below threshold. | Check motor connections, set OPL to nO for testing without a load. |
Power Stage Hardware Diagnostics: Multimeter Diode Testing of Rectifiers and IGBTs
Testing the VFD''s power circuit using a digital multimeter in diode test mode is the fastest method to detect shorted IGBTs or rectifier diodes without opening the drive enclosure. From our service experience at our Kyiv warehouse, over 40% of OCF errors trace back to physical damage in the power module caused by electrical or thermal stress.
- De-energize the VFD. Shut down the main input circuit breaker. Wait at least 15 minutes to allow the internal DC bus capacitors to discharge fully through the internal bleed resistors. Use a multimeter in DC voltage mode to measure the voltage between the PA/+ and PC/- terminals. Ensure the reading is below 10V DC before proceeding with resistance measurements.
- Configure the Multimeter. Switch the multimeter to diode test mode. In this setting, the meter outputs a small voltage and measures the forward voltage drop across semiconductor junctions in millivolts or volts.
- Input Rectifier Bridge Diagnostics:
- Place the Red lead on the PC/- terminal. Touch the Black lead to the R/S/T (L1/L2/L3) input terminals one by one. The meter must register a forward diode drop between 0.4V and 0.6V. Reversing the leads (Black on PC/-, Red on R/S/T) must show an open circuit (OL).
- Place the Black lead on the PA/+ terminal. Touch the Red lead to the R/S/T input terminals one by one. The expected drop is 0.4V to 0.6V. Reversing the leads must display an open circuit (OL).
- Output IGBT Inverter Module Diagnostics:
- Place the Red lead on the PC/- terminal. Touch the Black lead to the U/V/W (T1/T2/T3) output terminals one by one. The meter must show a stable forward diode drop of 0.4V to 0.6V (measuring the integrated flyback diodes). Reversing the leads must register OL.
- Place the Black lead on the PA/+ terminal. Touch the Red lead to the U/V/W terminals one by one. The expected reading is 0.4V to 0.6V. Reversing the leads must show OL.
Any measurement reading 0.0V indicates a shorted junction, while OL in both directions indicates an open circuit. In either case, the power stage is damaged, and the power module must be replaced.
CRITICAL SAFETY WARNING: Never connect the control logic ground/common (such as the COM or GND terminals on the control card) to the high-voltage DC bus terminals PC/- or PA/+. The VFD''s control logic is galvanically isolated from the high-voltage power circuits. Attempting to tie the logic ground to the PC/- terminal (which floats up to minus 375V DC relative to earth ground during normal operation, and can surge to minus 650V DC or more during motor braking) will cause an instantaneous explosion of the control board microprocessor, vaporize internal PCB traces, destroy all connected controllers or PLCs, and present an immediate lethal shock hazard to technicians.
Sizing and Splicing Dynamic Braking Resistors
Installing an external dynamic braking resistor is the only technically sound method to eliminate ObF faults in applications with large inertia or high duty cycles (such as cranes, hoists, centrifuges, and heavy conveyors). Schneider Altivar ATV310 and ATV320 series feature an integrated braking chopper that automatically routes regenerative power to an external resistor when the DC bus voltage rises. The entry-level ATV12 series does not have a built-in chopper, meaning a dynamic braking resistor cannot be directly connected; it requires an external third-party braking module.
An external braking resistor must be connected directly across the PA/+ and PB terminals. Polarization is not applicable as the resistor acts as a purely resistive load. Always use high-temperature silicon-insulated shielded copper cabling (capable of withstanding up to 180°C) and route it within a metal conduit, as braking resistors can heat up to 200°C under load.
| VFD Power (kW) | Minimum Resistance (Ohm) | Recommended Resistor Power (W) | Official Schneider Electric SKU |
|---|---|---|---|
| 0.75 kW | 100 Ohm | 100 W | VW3A7730 |
| 1.5 kW | 60 Ohm | 200 W | VW3A7731 |
| 2.2 kW | 60 Ohm | 200 W (400 W for heavy starts) | VW3A7731 / VW3A7732 |
| 3.0 kW | 60 Ohm | 400 W | VW3A7732 |
| 4.0 kW | 40 Ohm | 400 W (600 W for high inertia) | VW3A7732 / VW3A7733 |
| 5.5 kW | 27 Ohm | 600 W (1000 W for heavy starts) | VW3A7733 / VW3A7734 |
Commissioning and Parameter Setup Best Practices
To minimize start-up failures when introducing Altivar VFDs to industrial operations, our engineers recommend applying three key parameter configuration rules.
- Perform Motor Auto-Tuning (tUn): Before launching under load, enter the exact motor nameplate parameters (power, current, speed, cos phi) into the drC menu (ATV12) or ConF -> FULL -> dRC- menu (ATV320). Then, initiate the auto-tuning sequence by setting the tUn parameter to YES or tUn. The VFD will inject pulses to measure the stator winding resistance and leakage inductance, allowing precise current control and preventing unexpected OCF faults.
- Enable Deceleration Ramp Adaptation (brA): If no braking resistor is connected but ObF faults trigger intermittently during deceleration, set the brA parameter to YES or dYn. This instructs the drive to automatically extend the deceleration ramp dynamically based on the DC bus voltage feedback, preventing the VFD from tripping.
- Disable Motor Phase Loss Protection (OPL) for Testing: When testing VFD performance on a test bench without a motor connected, or when running a motor with a very low current draw below the VFD''s detection threshold, you must disable output phase loss monitoring. Set OPL to nO in the FLt- menu (ATV12/ATV310) or ConF -> FULL -> FLt- -> OPL- (ATV320). Otherwise, the drive will trip on OPF2 instantly.
Diagnosing faults on Schneider Altivar ATV12, ATV310, and ATV320 VFDs requires a sound understanding of electrical physics and precise testing methods. Checking the VFD power circuit using a digital multimeter and selecting the correct braking equipment ensures uninterrupted system performance. Our automation engineers are always ready to provide expert technical support. At our Kyiv warehouse, we supply a wide range of VFDs and original accessories directly, providing rapid delivery and professional engineering services. To learn more about selecting the right drive, read our guide on how to choose a variable frequency drive for electric motor, or look at our comprehensive review of the Schneider Electric Altivar ATV21 series. It is also highly recommended to review the use of variable frequency drives equipped with vector control for precise control in heavy industrial systems. You can order original variable frequency drives or select specialized Schneider Electric frequency inverters directly from our stock in Kyiv.